Workspaces
Last updated: July, 18 2023
Workspaces in the network operate the same as private workspaces with a few notable differences:
- Membership is handled at the network level with teams
- Projects, tasks, and assignments in the workspace can be viewed by the network at any time for anyone with appropriate permissions
- Permissions in the workspace depend on the user's role
Network workspaces can host an unlimited number of tasks, projects, lists, users, and other resources.
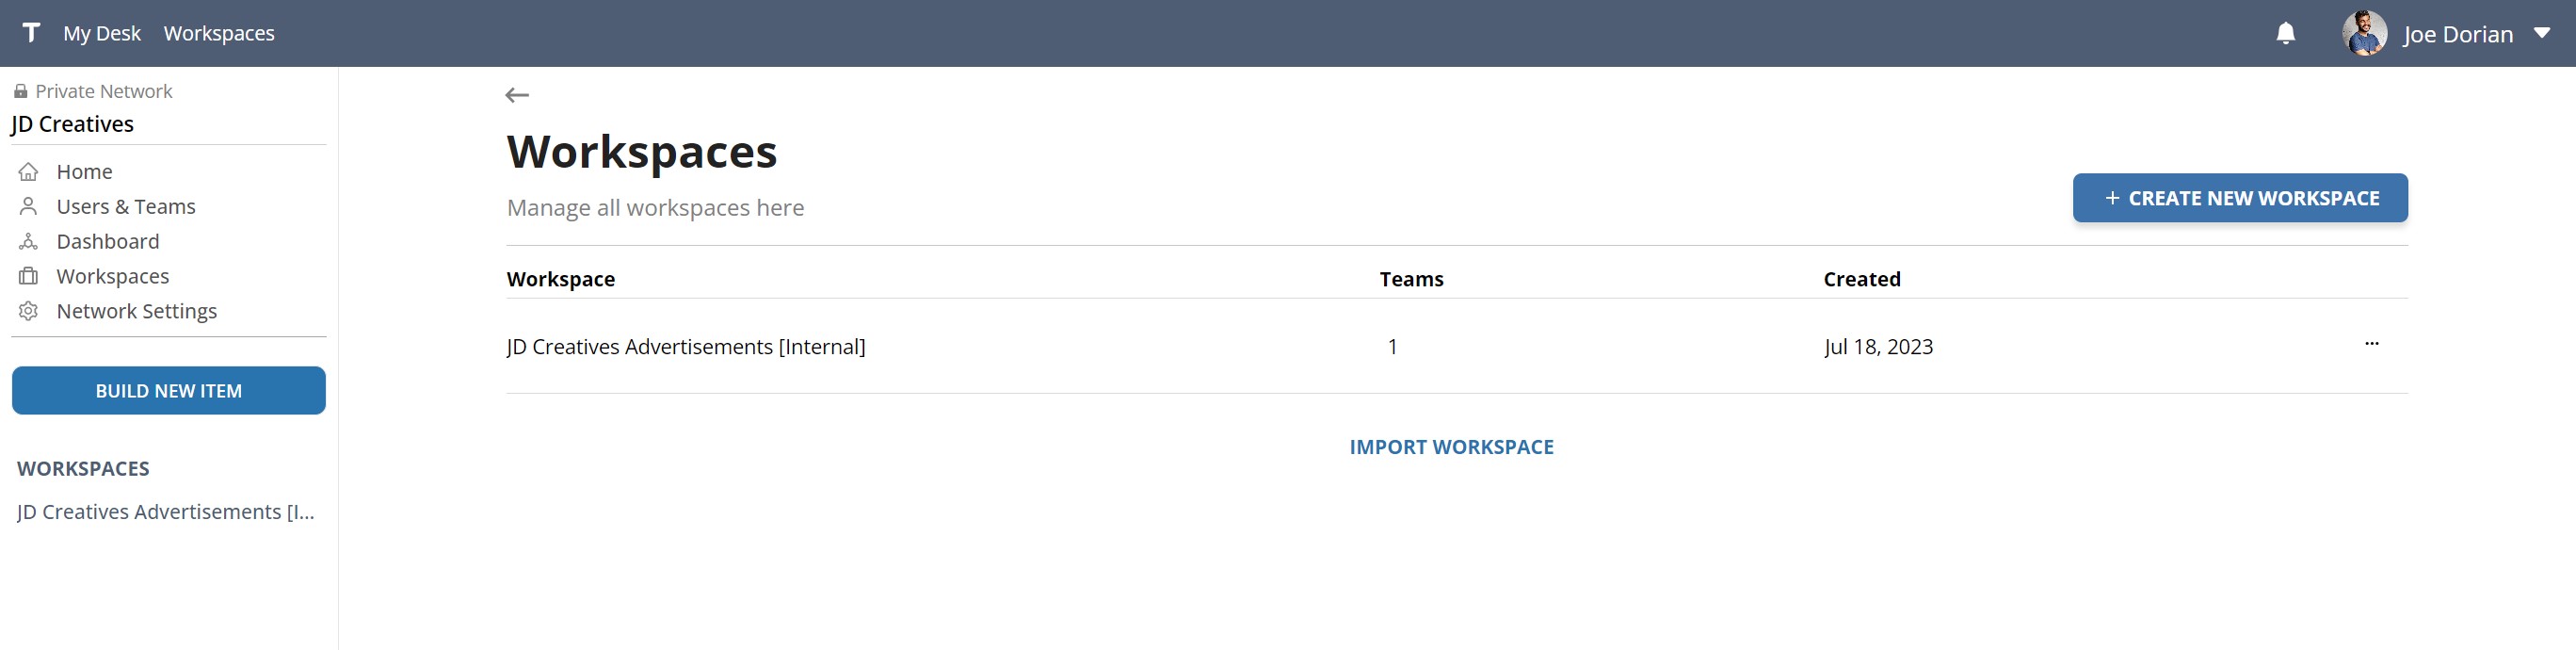
Create a new workspace
Networks allow workspace creation in two locations: the network sidebar, Build New Item button or the Create New Workspace button in the network workspaces panel. Both are shown below:
After creating a new workspace, you will need to assign a Team to it to allow network users to access the workspace. Network administrators can access all workspaces in the network, but cannot accept any assignments until they are granted official team or non-team access.
Depending on your use case, workspaces can represent:
- Specific clients
- Internal departments of your organization
- Large projects
- Collaborative area for multiple teams
The right way to design your network depends on how your team organizes and how exposed you want different efforts to be toward each other.
Manage workspace access
You can manage access to network workspaces directly from the workspace menu. Select the options menu on the right side, and toggle different Teams on/off to manage their access. If you need to grant a user explicit access to a workspace, perform this from inside the workspace or from the network panel Users & Teams.

To remove a workspace, go to Settings and click Permanently Delete Workspace. Users with delete permissions can handle this from the network menu or from inside the workspace.